
Light the World with Hide an Elf Tradition
This post may contain affiliate links meaning I make a commission on products purchased through my links. See my full disclosure for more.
Ready for a simple way to light the world this Christmas? Start in your own neighborhood by hiding an elf (or some of his friends) among the main pathway through your community. It takes just a few minutes to get started but lasts all month long. It’s such a fun tradition for a variety of ages (yes, even empty nesters enjoy finding the elf and adding a surprise). Be sure to print out my instructions cards to help you get started!
Save it for later, pin it now!
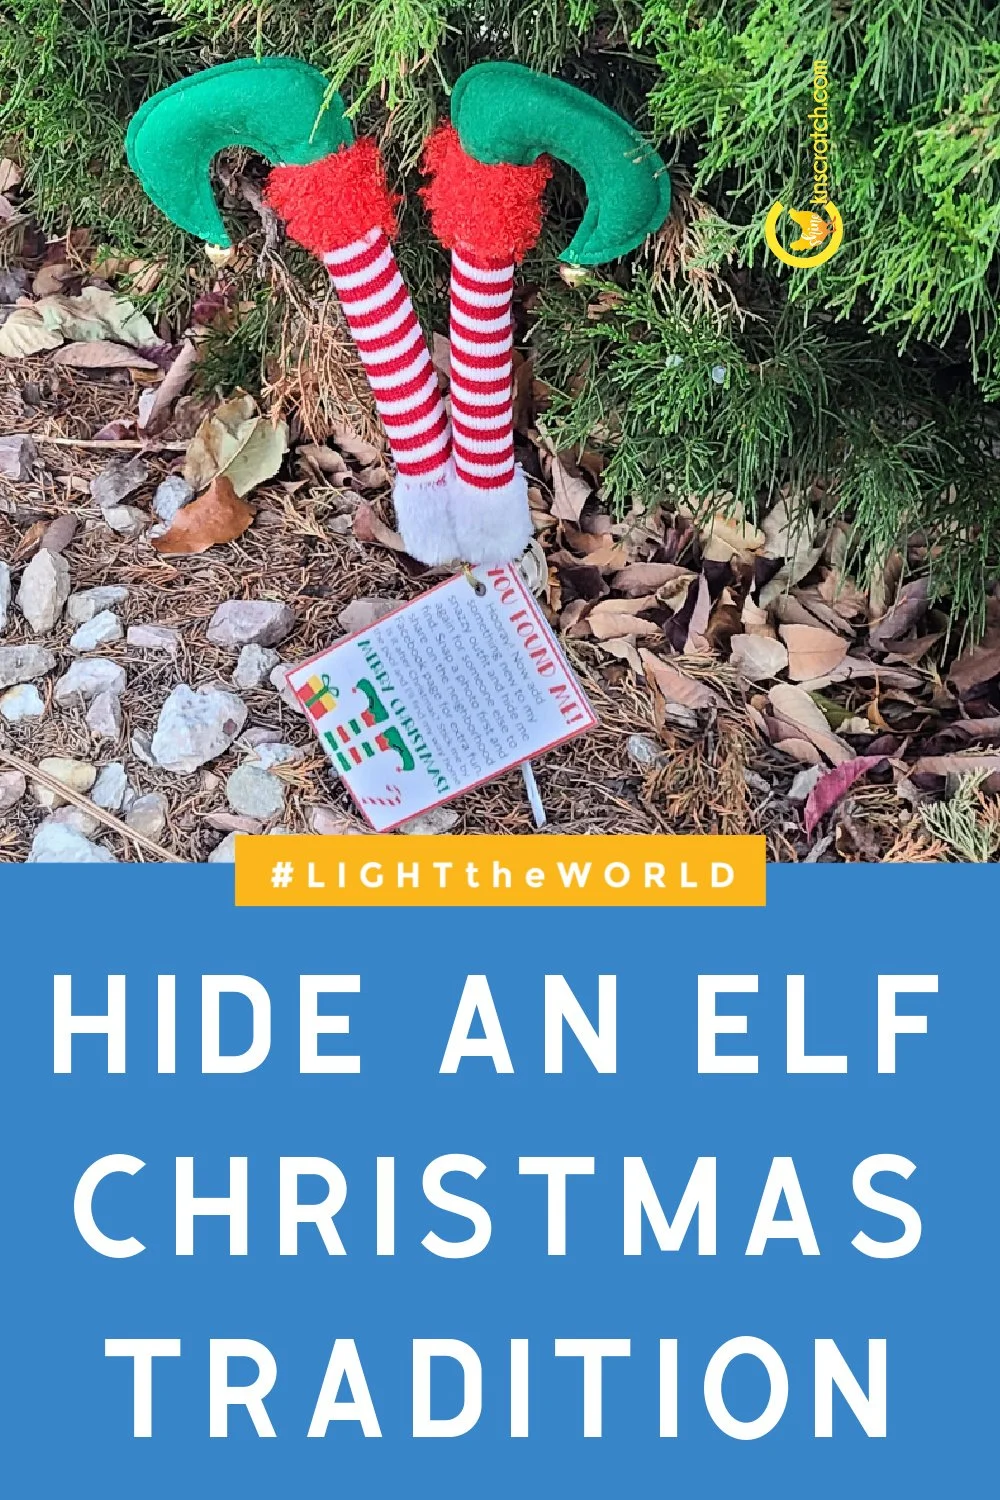
Each time someone finds the elf, they have to add a new decoration to it. It is so much fun to watch them change. Each walk is more exciting as you constantly look in all the bushes and trees for the elves. Last year we used two elf legs. This year, we have a gnome, a snowman head, and a mini snowman. People loved it so much we needed to give them more opportunities! Our picks came from Hobby Lobby. However, you can find some online. Be careful to check the sizing as some are for cupcakes and others are intended for Christmas trees like the legs we used.
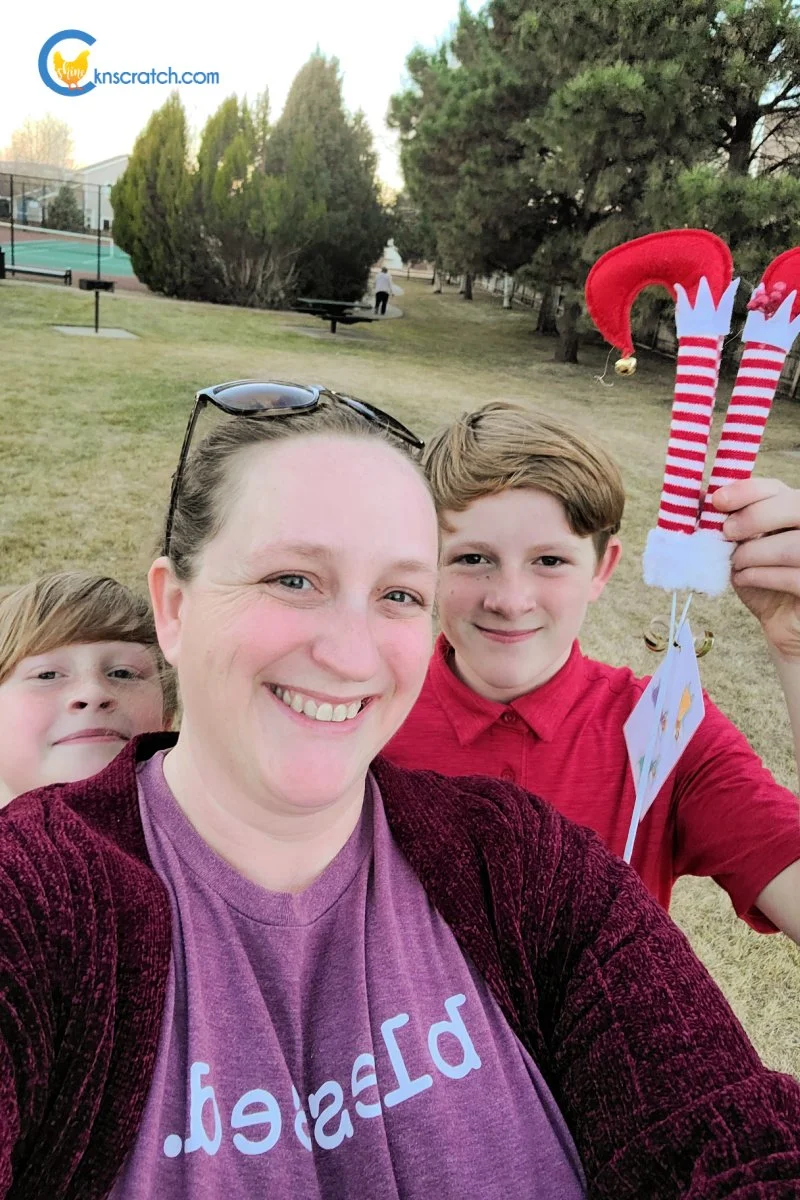
Tips for a Successful Elf Hunt
If you have a neighborhood page, encourage people to share the elf’s adventure online. It’s much more fun for everyone as people share photos of their additions as well as give hints as to where they have hidden them. It’s easier to get it started too as you can share a close-up photo of where you hid them and encourage people to start searching.
Remember to write down where you will pick up the items when Christmas is over on the instruction tag so it’s not left out all year and you don’t have to hunt it down.
Don’t hide them too hard…. especially the first time. You want it pretty easy to find these guys so they keep being passed around. The more they get passed, the more fun it is!
Laminate your instruction cards. I used packing tape and put a few extra layers around where we hole-punched it to tie it on so it wouldn’t rip as easily.
It doesn’t really matter when you start! Try the day after Thanksgiving, December 1, a week before Christmas- as long as there is some time for others to join in!
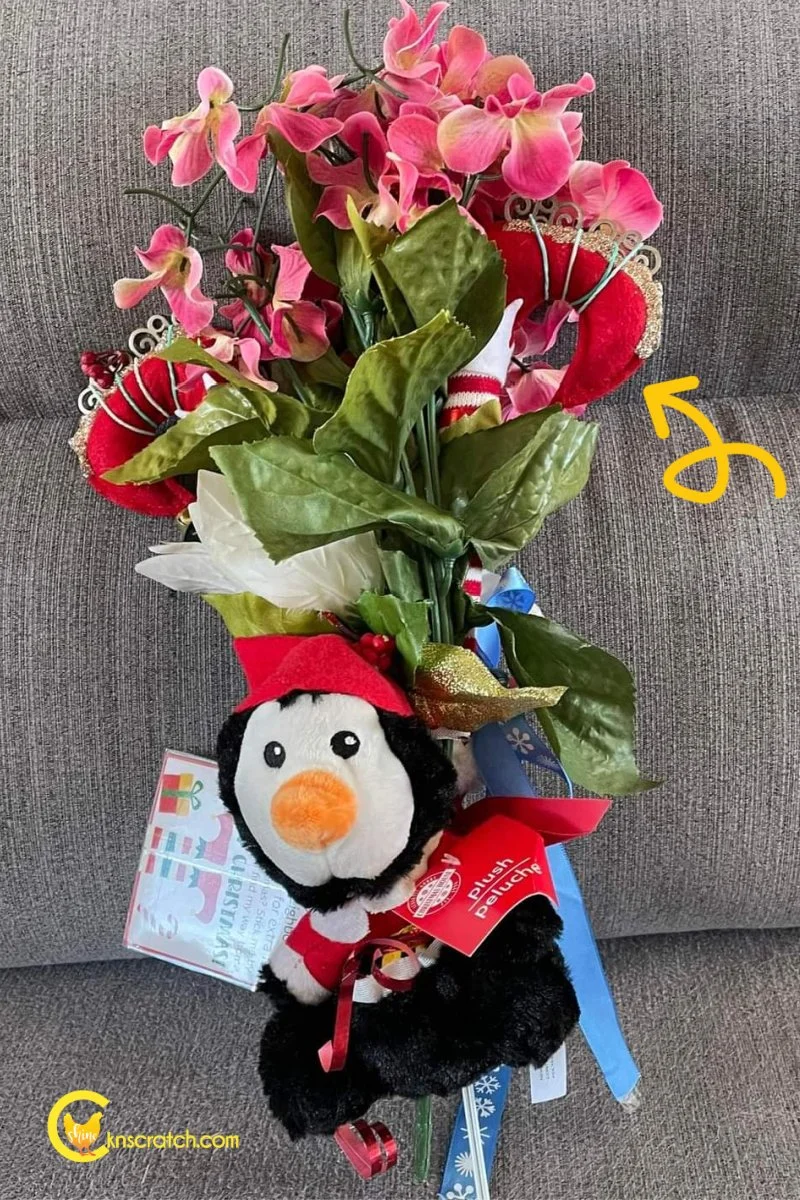
By the end it can be hard to actually see your original design! Can you see the elf legs above? It’s fun to search through all the added treasures. The best part is it helps bring your neighborhood together. There’s always something to talk about and fun to be had.
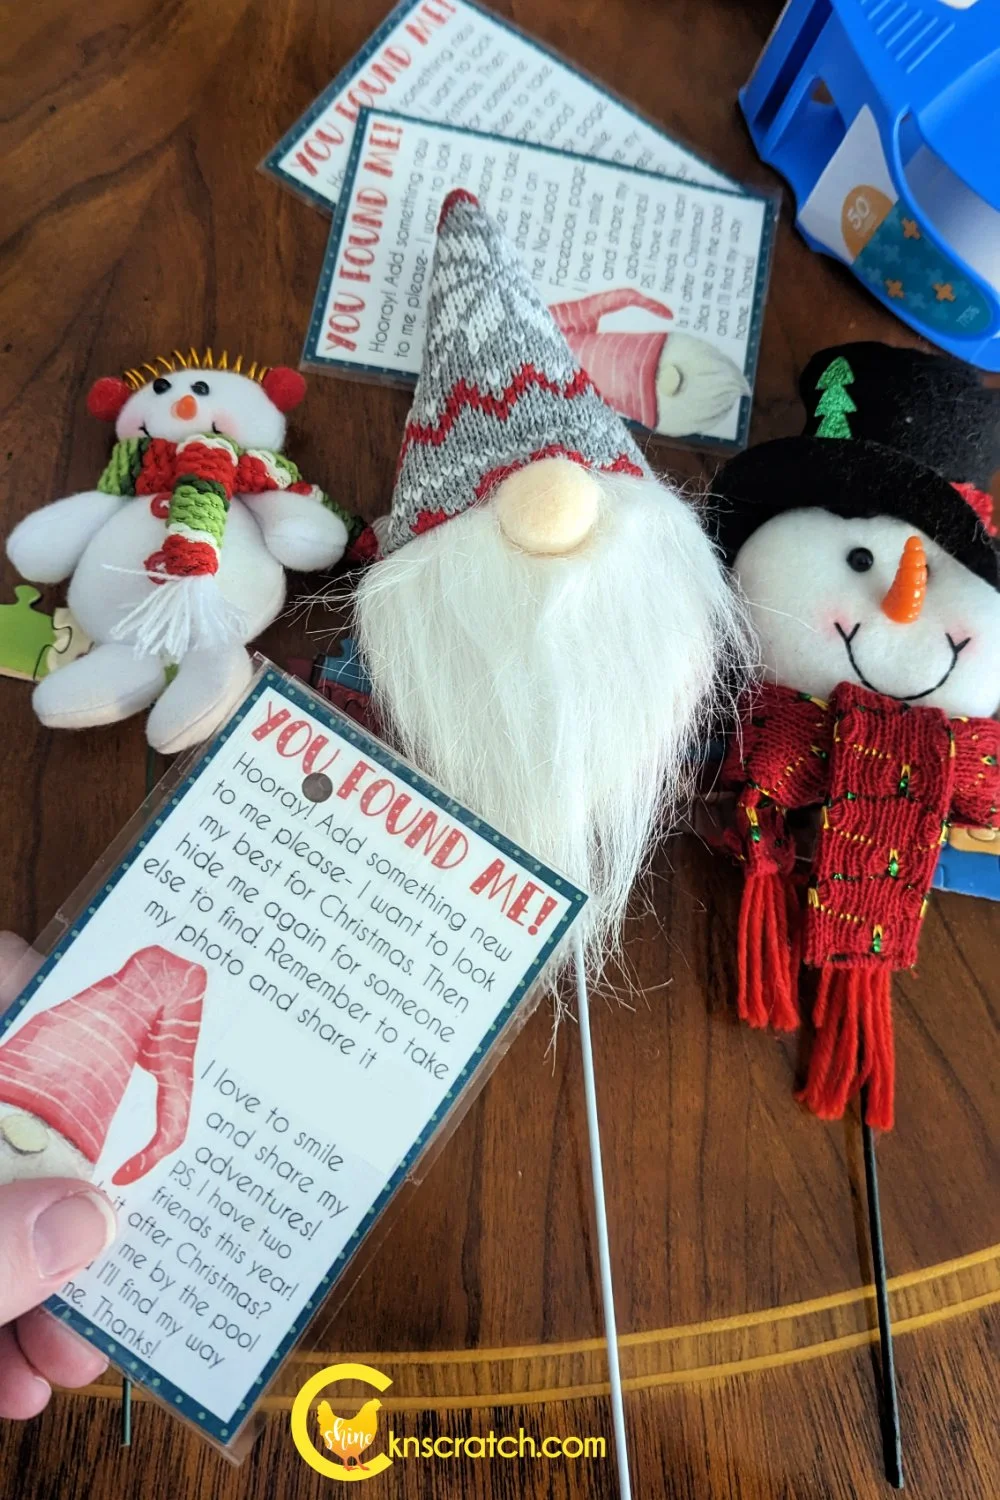
Print off my instruction cards to get you started! These help explain why there is a funny creature in your neighborhood, what to do next, and where to put it once Christmas is over. Remember, share some of your fun adventures on social media with the hashtag #LIGHTtheWORLD too!


Celebrate the sweetest story ever told, one tiny treat at a time.
Turn everyday candies into thoughtful Christmas gifts, a daily scripture countdown, or a family Christmas Eve devotional. Our Nativity Candy Circles attach to wrapped treats like Hershey’s Kisses, Rolos, and miniature Reese’s peanut butter cups, adding a reminder of Jesus Christ to each little bite.
For a countdown, include one of each picture and choose a candy at random each day, December 1–24. Match the picture to the scripture guide and read about the Savior’s birth, life, and mission. For a Christmas devotional, use the separate numbered Nativity guide to assign readings and share the Christmas story together.
Or simply fill a mug, jar, treat bag, or stocking with decorated candies. No counting required! Add a matching gift tag for neighbors, teachers, friends, or the families you minister to.
Your instant-download PDF includes:
Two sets of 24 candy-circle designs: a KJV Bible edition and a Bible + Book of Mormon edition, with four complete sets per candy-circle page.
Matching scripture countdown guides for both editions, with picture references, short reading titles, and checkboxes.
Nativity devotional reading guides for both editions, with numbered assignments for reading the Christmas story in order.
Coordinating gift tags and jar-lid labels.
Assembly instructions and creative gifting ideas.
Print the candy circles at actual size, cut with scissors or a ¾-inch circle punch, and attach them to your wrapped candies with a glue stick or double-sided tape.
This is a digital download. Candy, containers, and assembly supplies are not included.